How to Make Crispy, Flavorful, and Firm Head Cheese
The secret to making head cheese (giò thủ), also known as sautéed pork head terrine, lies in achieving the right texture—crispy, slightly pink, and most importantly, firm and cohesive without being dry or full of air pockets. In this article, Cookbeo will share detailed instructions on how to make this dish. Once you've tried this method, you'll be confident to make head cheese at home without needing to buy it from the store again.

Ingredients
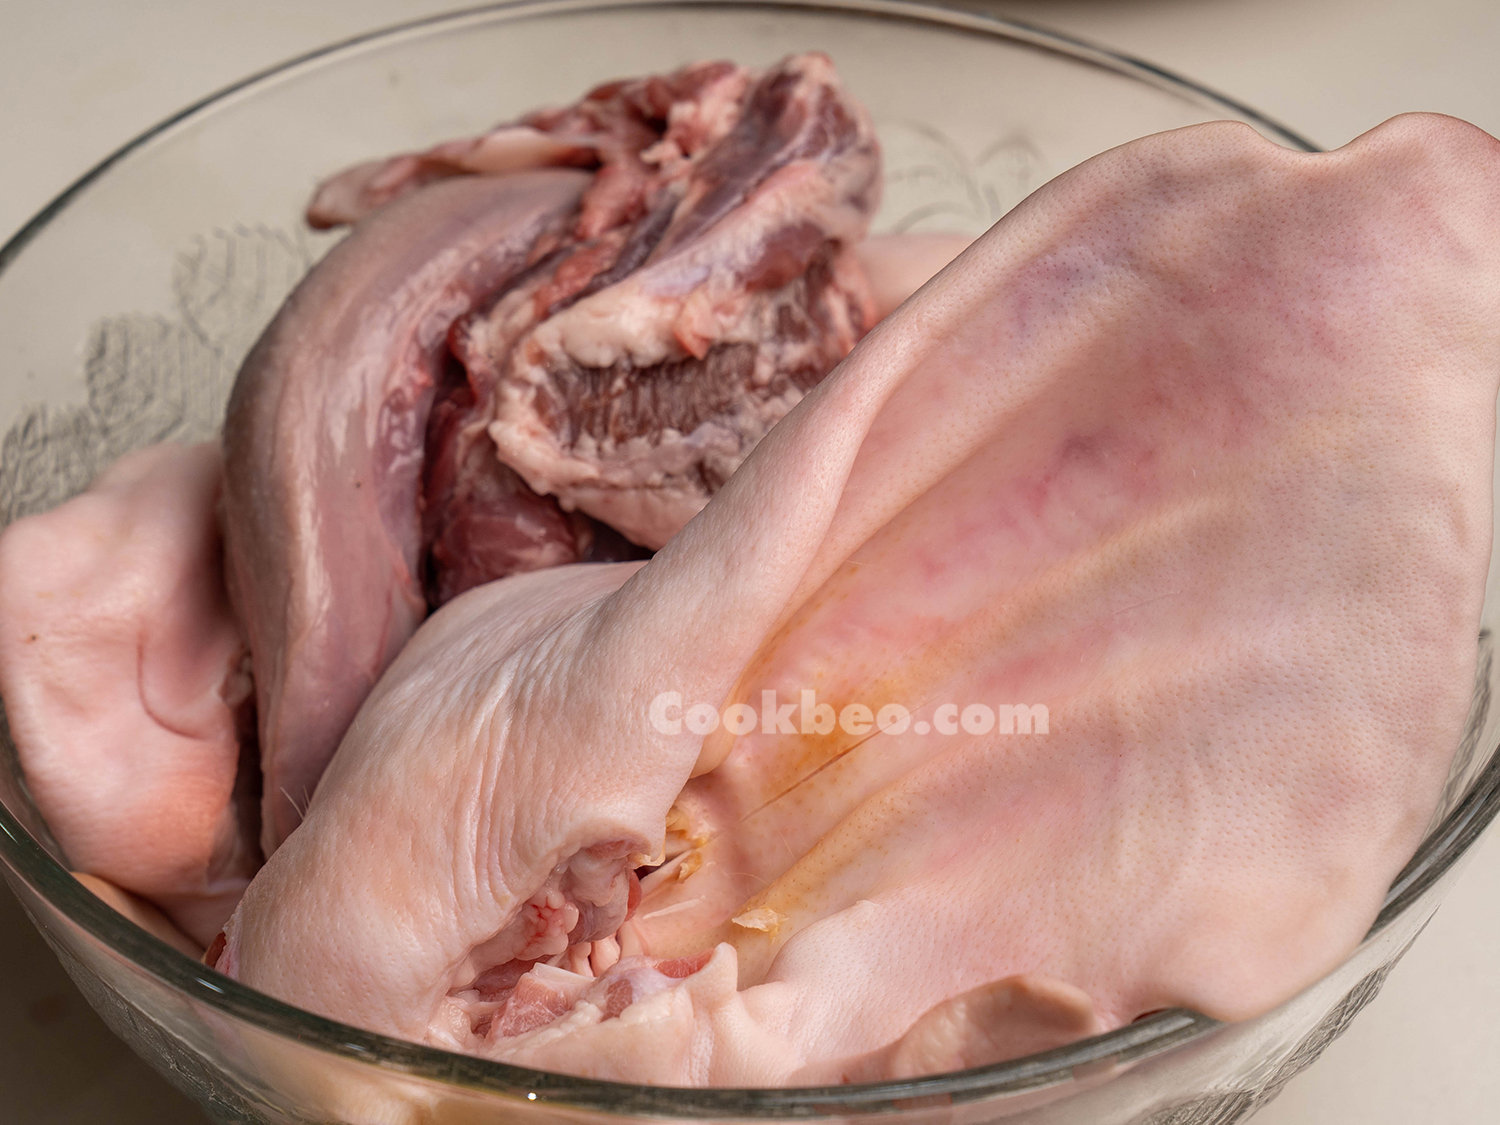
- 2 pig ears (~1000g)
- 1 pig snout (~400-500g)
- 1 pig tongue (~500g)
- 500g pork shank
- 10 shallots
- 1 ginger root
- 50-70g wood ear mushrooms
- 10g whole peppercorns
- Coarse salt
- Seasonings: ground pepper, fish sauce, sugar, MSG, seasoning powder, rice wine
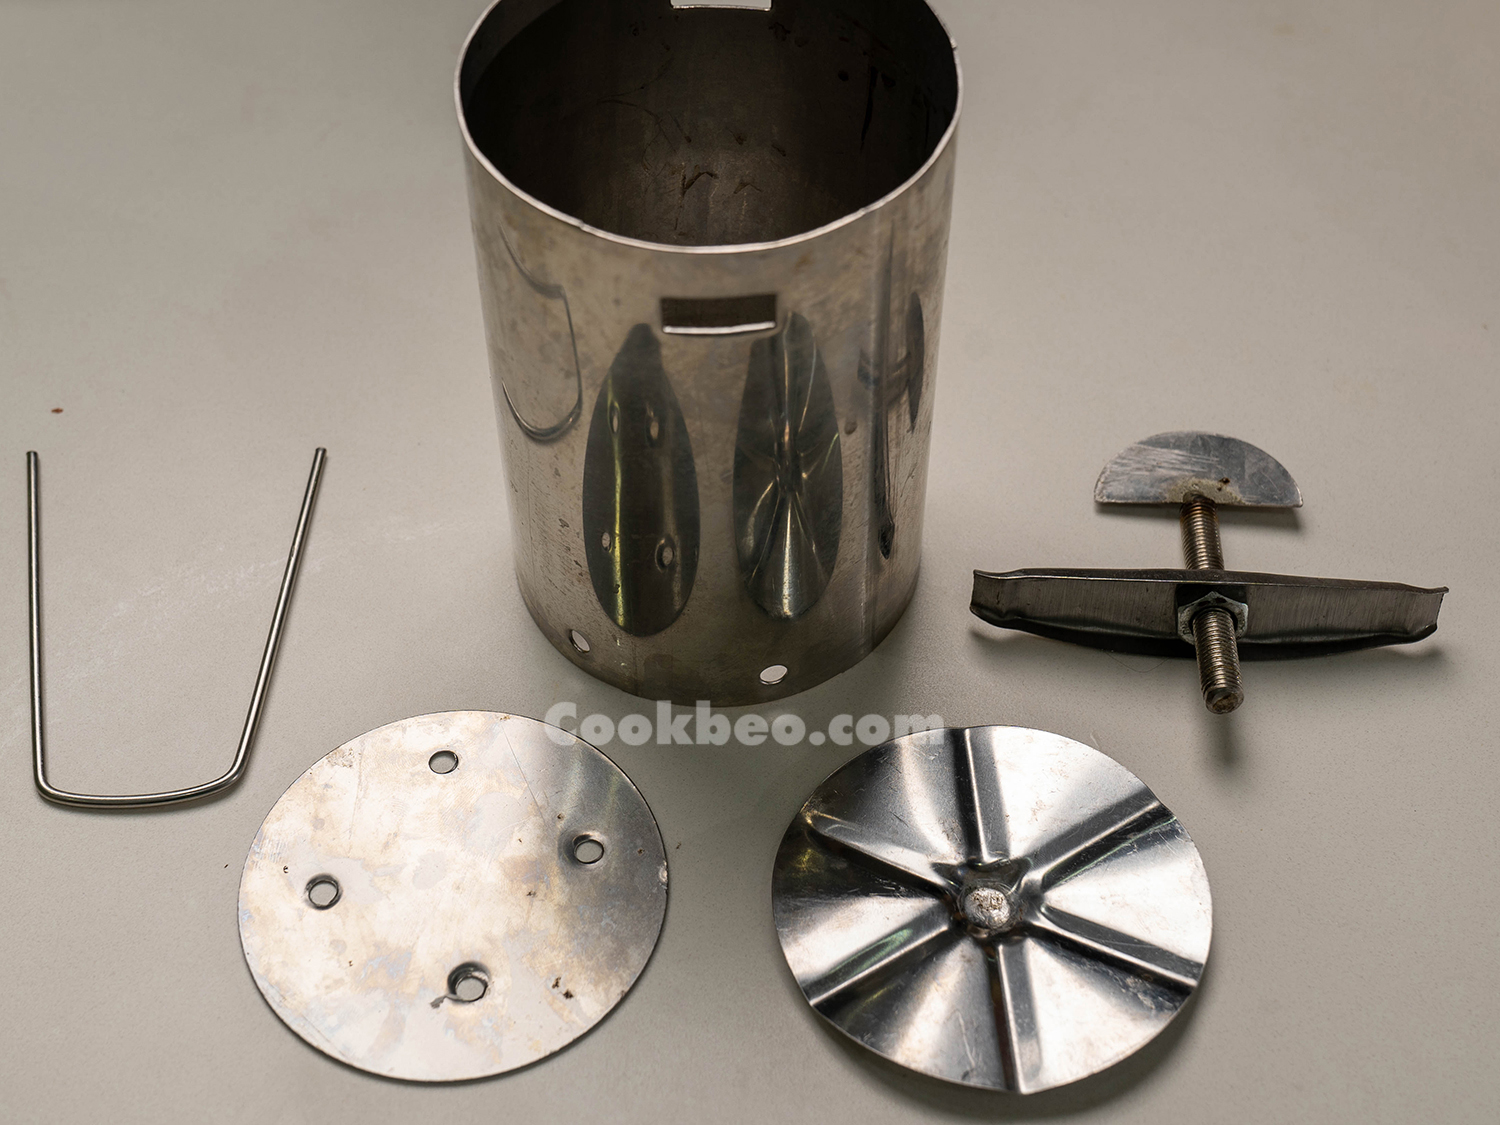
- Stainless steel mold (if available)
- Banana leaves (if available)
Ingredient Notes
- To successfully make head cheese, the ratio of ingredients should be 2 parts ear, 1 part snout, 1 part tongue, and 1 part pork shank. This ratio is important because the ear, snout, and skin provide the gelatinous texture that binds the terrine together, resulting in a cohesive and visually appealing block of head cheese.
- If this is your first time making head cheese, you may want to use a stainless steel mold to help shape the terrine evenly, rather than wrapping it by hand. If you don't have a mold, a plastic water bottle can work, but Cookbeo advises against using plastic due to potential health risks when it comes into contact with hot food.
- If banana leaves are unavailable, you can use special food-safe plastic bags, which are available at most kitchen supply stores. If these are also unavailable, you can press the mixture directly into the mold.
- Head cheese is made from parts of the pig's head (such as ears, snout, tongue, and cheeks) with added pork shank for extra flavor. The dish is prepared by sautéing all the ingredients together with seasonings like fish sauce, salt, and pepper, which is why it's also known as sautéed pork head terrine.
Instructions
Prepare the Ingredients
Rub the pig ears, snout, tongue, and pork shank with coarse salt, then rinse thoroughly. Be sure to clean the crevices in the ears and snout well.
With the above quantity of ingredients, you can make about 2kg of head cheese.
Peel and thinly slice the shallots.
Wash the ginger thoroughly, then slice or crush it. Use most of the ginger to boil the ears and snout, reserving a small amount to mince and sauté with the meat.
Soak the wood ear mushrooms in warm water until they soften. Rinse, drain, and cut them into strips about 1cm wide.
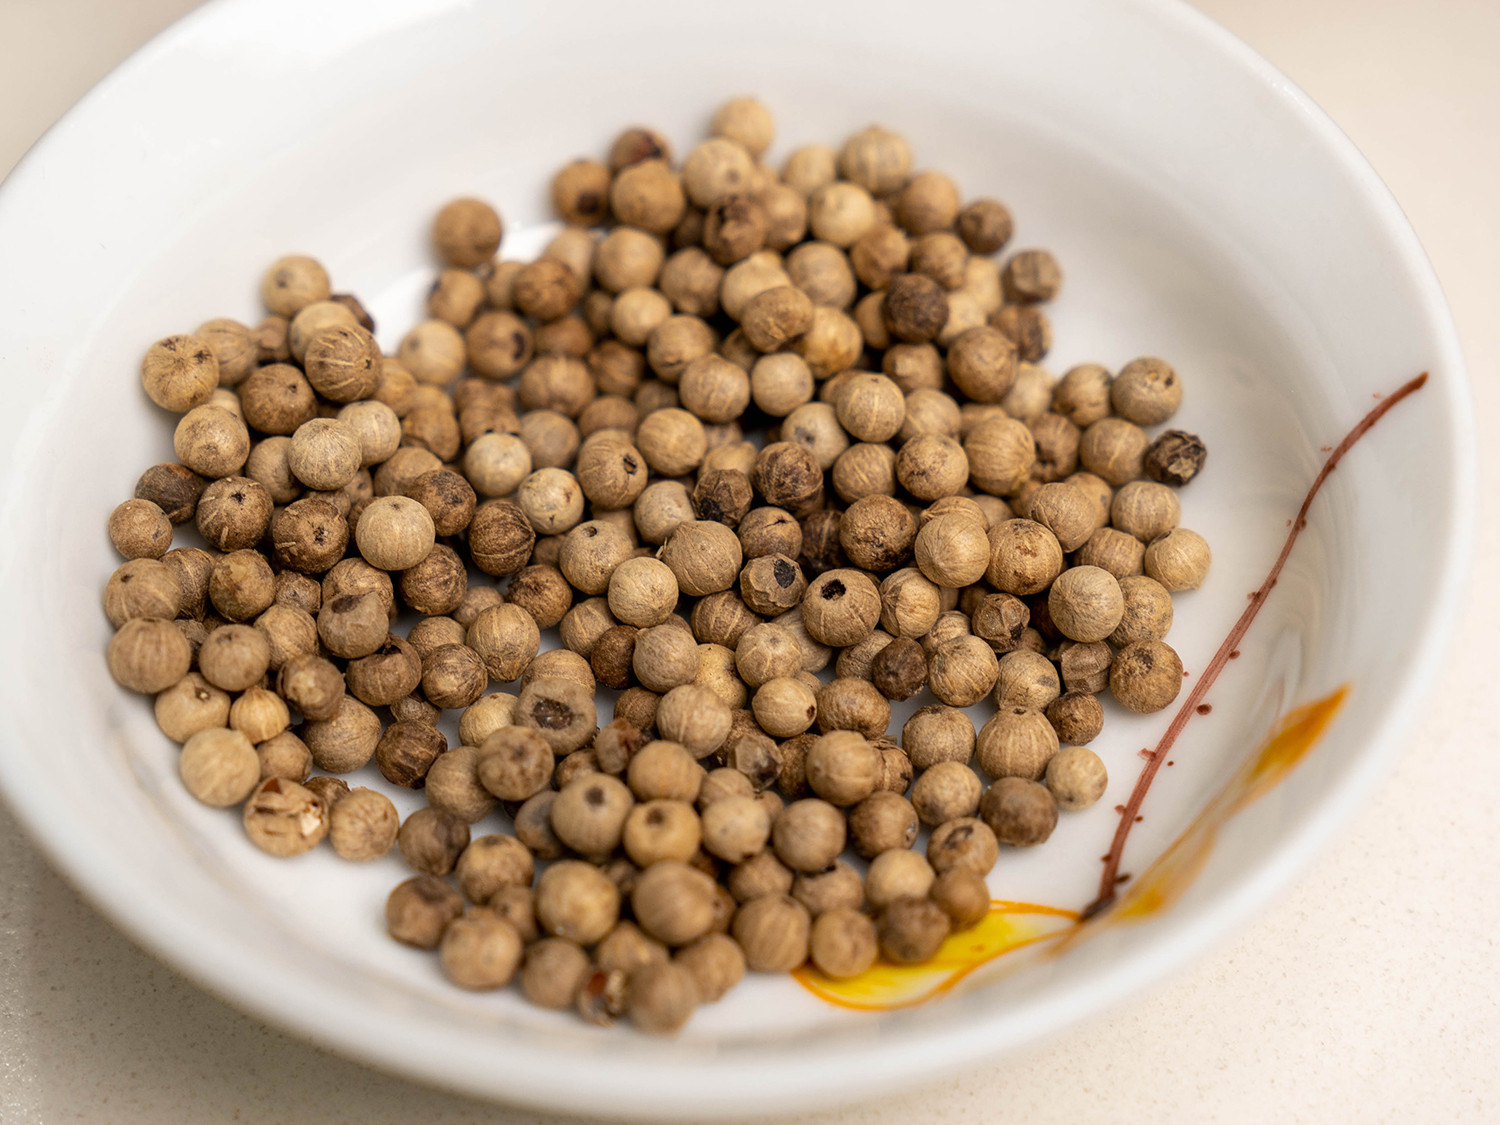
White peppercorns have a mild spiciness and a pale color, which helps the head cheese stay light in color and not too spicy, unlike black peppercorns.
Wash and dry the banana leaves. In addition to using banana leaves to line the sides of the head cheese mold, cut two round pieces to line the bottom and cover the top, which will make the final product more visually appealing.
After washing, you can lightly toast the banana leaves. Toasted banana leaves impart a fragrant aroma when used to wrap the head cheese.
Blanch the Pig Ears, Snout, and Tongue
Boil a pot of water, adding 1-2 tablespoons of coarse salt and a few slices of fresh ginger to help cleanse and add aroma to the meat. Once the water is boiling, add the pig ears, snout, and tongue, and blanch for about 3-4 minutes.
Only blanch the ears, snout, and tongue—do not blanch the pork shank, as it needs to remain pliable for sautéing.
After blanching, remove the ingredients and rub them again with coarse salt, rinsing several times with cold water. Pay special attention to the tongue—scrape off the white membrane with a knife. For the ears and snout, be sure to remove any hair or debris from the small crevices.
Boil the Pig Ears and Snout
After cleaning, place the pig ears and snout in a pot with a few slices of ginger and shallots. Fill the pot with enough water to submerge the ears and snout, then bring to a boil. Fully submerged, the ears and snout will not darken.
Once the water is boiling, reduce the heat to a simmer. Boil the ears and snout for 8-10 minutes until just cooked through.
After boiling, transfer the ears and snout to a bowl of ice water with a squeeze of lemon juice. The lemon ice water will help keep the ears and snout crisp and pink. Once they have cooled, rinse them again to remove the lemon’s acidity, then drain well.
If you don’t have lemon ice water, rinse the ears and snout thoroughly under cold water after boiling and let them drain.
Do not boil the tongue or pork shank, as they need to retain their pliability for sautéing.
Marinate the Meat
Once drained, cut the pig ears into thin strips about 0.5cm wide. Slice the snout, tongue, and pork shank into pieces about 0.3-0.5cm thick.
Avoid cutting the meat too small, as it may crumble during cooking, but don’t cut it too thick either, as it won’t absorb the seasoning well and may become dry. For best results, cut the meat into slightly longer pieces so that when pressed into the mold, the slices will curl attractively.
After slicing, place all the ingredients in a large bowl to marinate. First, coarsely crush the white peppercorns, then crush 5-6 shallots and add them to the bowl of meat.
Next, season the mixture with 2.5 tablespoons of fish sauce, 2 tablespoons of seasoning powder, 1 tablespoon of sugar, 1/2 tablespoon of MSG, 1/2 tablespoon of coarse salt, 1/2 tablespoon of ground pepper, and 1 tablespoon of cooking oil. Mix well and let the mixture marinate for about 1 hour.
Sauté the Head Cheese Filling
Heat half a small bowl of cooking oil in a pan or pot, then add the sliced shallots and a small amount of minced ginger to sauté until fragrant. Sauté until the shallots and ginger turn a light golden color, then add the marinated mixture of pig ears, snout, tongue, and pork shank to the pan.
Cookbeo finds that adding a bit of warm, aromatic ginger while sautéing the ears, snout, and tongue adds a pleasant flavor and warmth. However, if you prefer, you can omit the ginger.
Add a generous amount of oil to help the ears, snout, and skin release their natural gelatin. Don’t worry about using too much oil—when pressing the filling into the mold, the excess fat will drain off.
If you plan to eat the head cheese within 1-2 days, you can add more shallots for extra flavor. If you want it to last longer, use less shallot.
This sautéing step is crucial, and it’s important to control the heat carefully. Sautéing at too low a temperature will prevent the ears and snout from releasing enough gelatin to bind the mixture, while too high a temperature will cause the filling to burn. Aim for medium heat; for example, if your stove has 8 settings, sauté the filling at level 3.
While sautéing, stir constantly to prevent the filling from sticking to the bottom of the pot. Sauté the mixture for about 13-15 minutes, stirring continuously. If the meat appears dry (due to factors like heat level or not stirring quickly enough), you can add a little water to the pan.
After sautéing for 13-15 minutes, add the wood ear mushrooms and continue to sauté for another 5 minutes before turning off the heat. Before turning off the stove, taste the filling and adjust the seasoning if necessary. However, with the proportions provided by Cookbeo, the head cheese should be well-seasoned. If you prefer a stronger flavor, you can serve the head cheese with fish sauce and chili on the side.
The hotter the filling, the better the head cheese will bind together. To prevent the filling from cooling during the pressing process, Cookbeo suggests keeping the pan on the stove at the lowest heat while pressing. This way, you can press the filling while it’s still hot, ensuring a cohesive texture. Occasionally stir the filling gently to prevent it from burning on the bottom of the pan.
Press the Head Cheese
Assemble the head cheese mold according to the instructions, and place the mold on a deep plate to catch any excess fat that drains off during pressing. Line the bottom of the mold with a round piece of banana leaf and line the sides with more banana leaves, placing the shiny side of the leaves facing out for an attractive appearance.
Fill the mold with the hot filling, pressing it down firmly. Cookbeo recommends using a pestle to help pack the filling tightly, ensuring a firm, cohesive head cheese. Continue filling and packing until the filling is about 3cm below the top of the mold, then fold the banana leaves over the top and cover with the round banana leaf piece.
Finally, attach the mold’s screw mechanism and tighten it to compress the head cheese. The tighter you compress it, the firmer and more cohesive the head cheese will be. However, avoid over-tightening, as this could damage the screw mechanism.
Allow the head cheese to cool completely at room temperature before transferring it to the refrigerator. After 5-6 hours, the head cheese will be fully set.
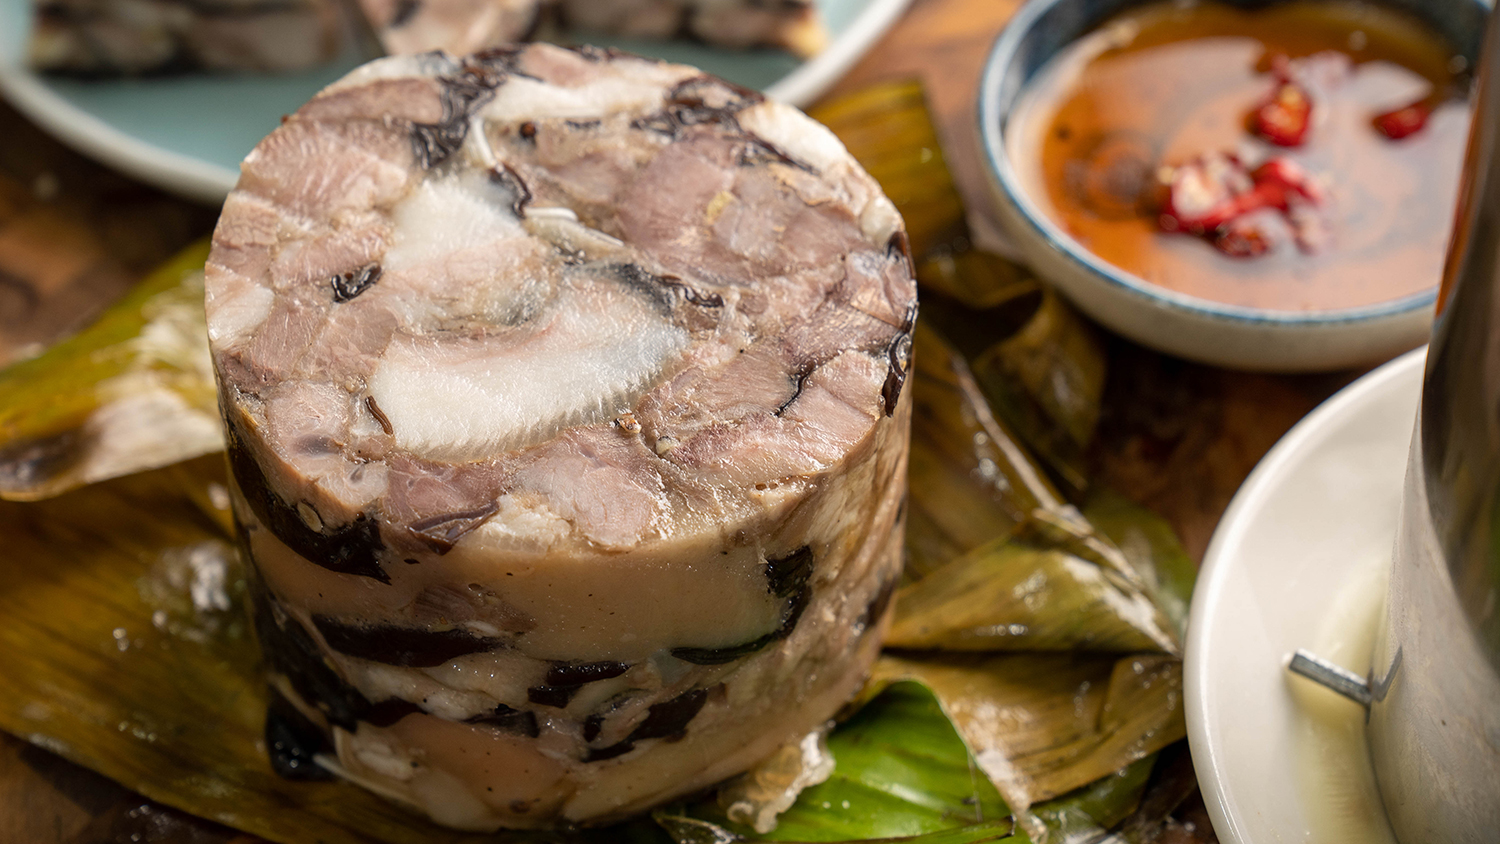
Once set, remove the screw mechanism, detach the bottom plate, and push the head cheese out of the mold. Slice the head cheese into pieces and enjoy.
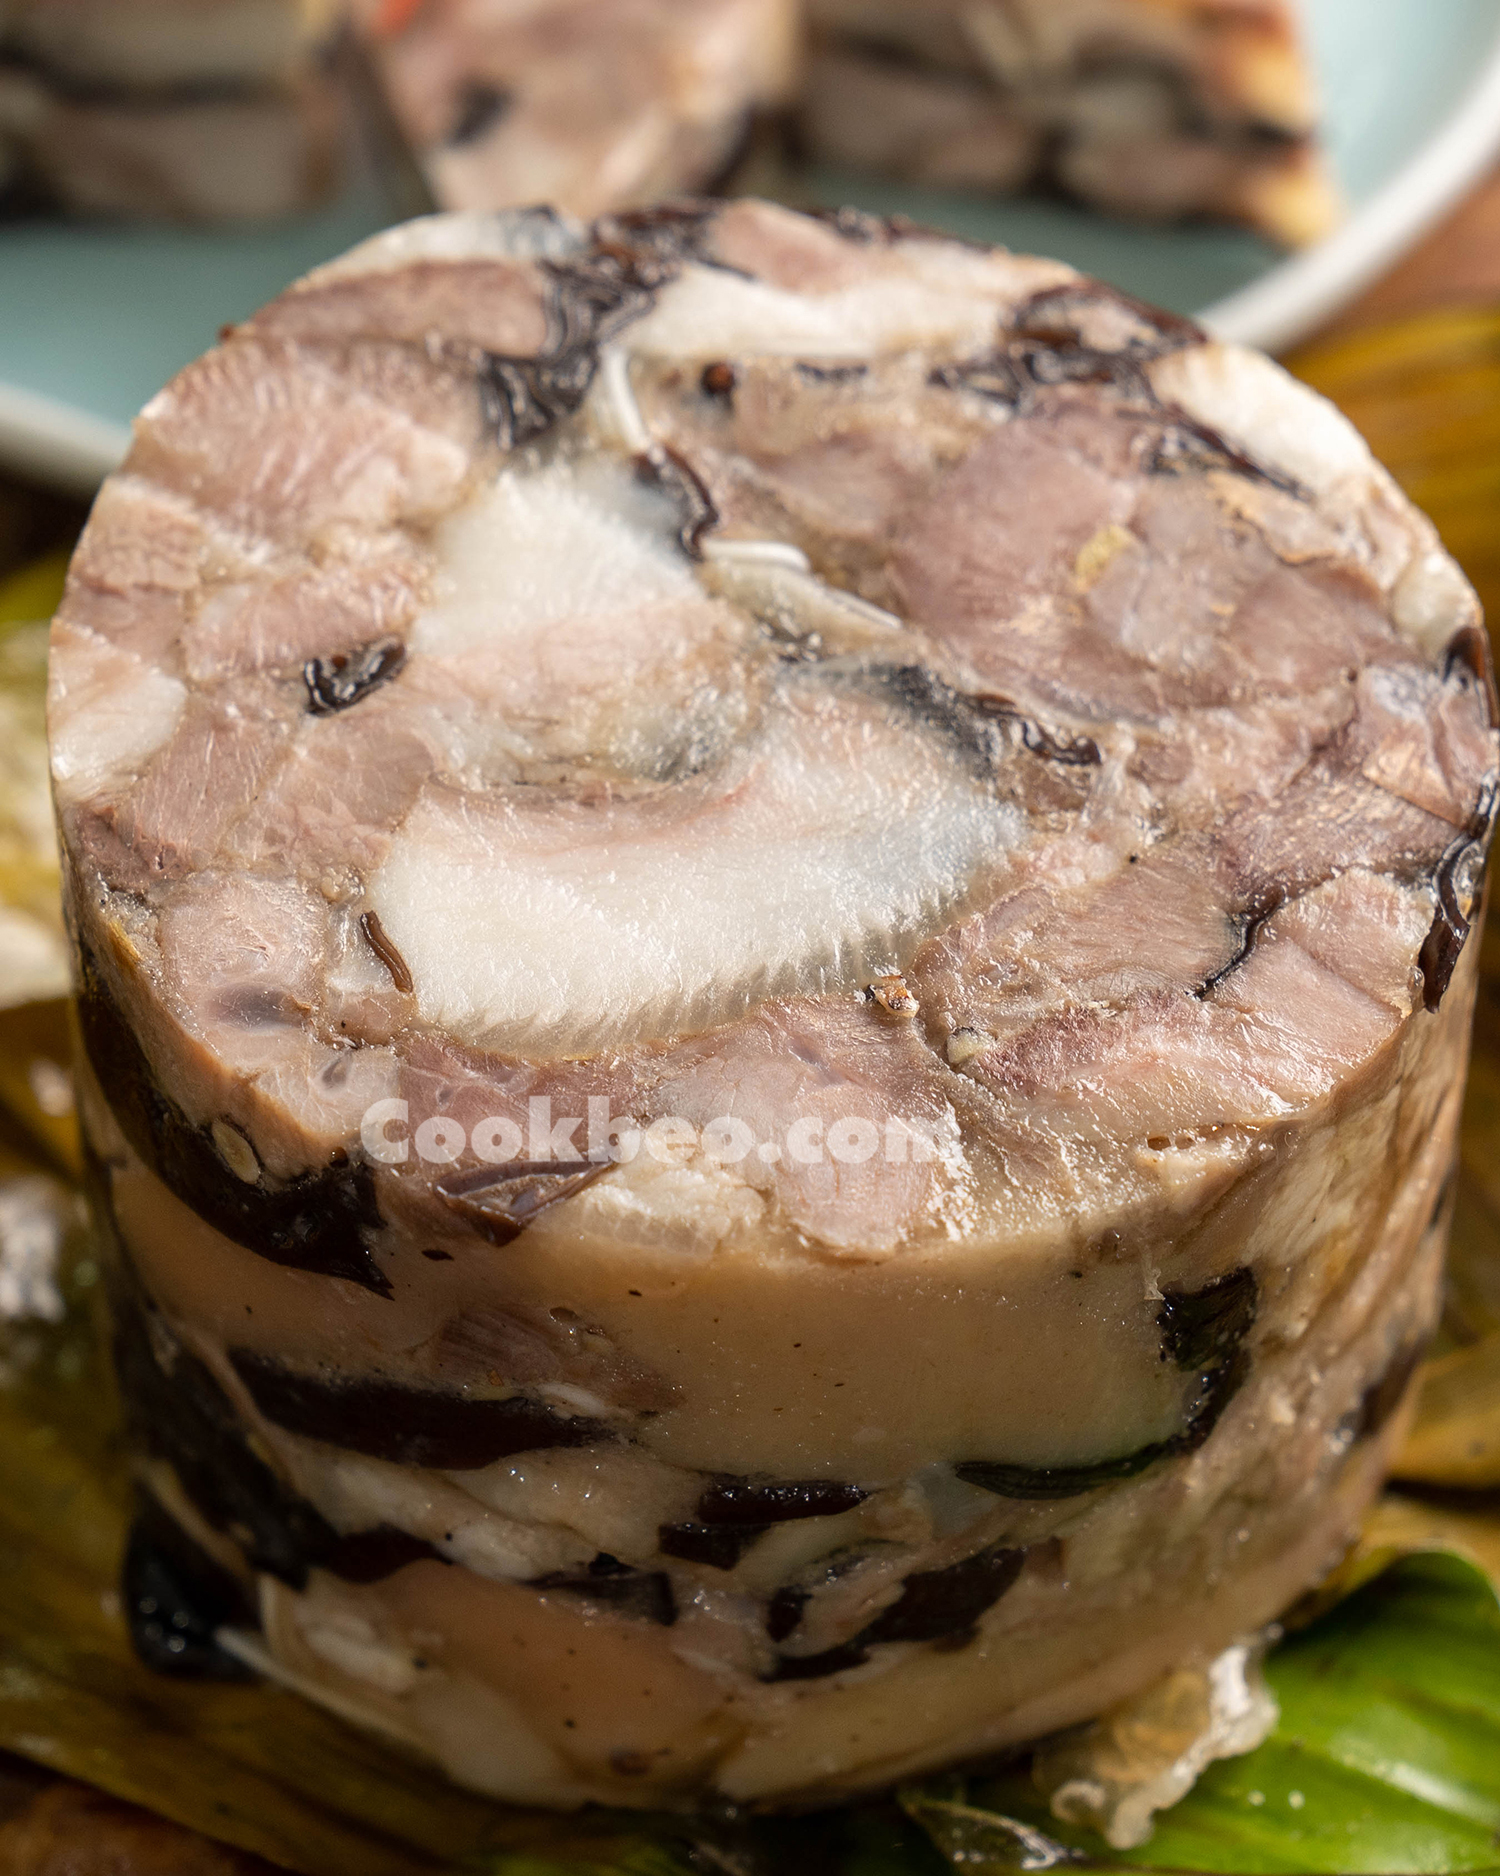
Head cheese (giò thủ) has a wonderful aroma from the meat, wood ear mushrooms, and the enticing scent of banana leaves. The head cheese should be pale pink, with evenly mixed ingredients and a firm, cohesive texture. When eaten, it’s crispy and rich.
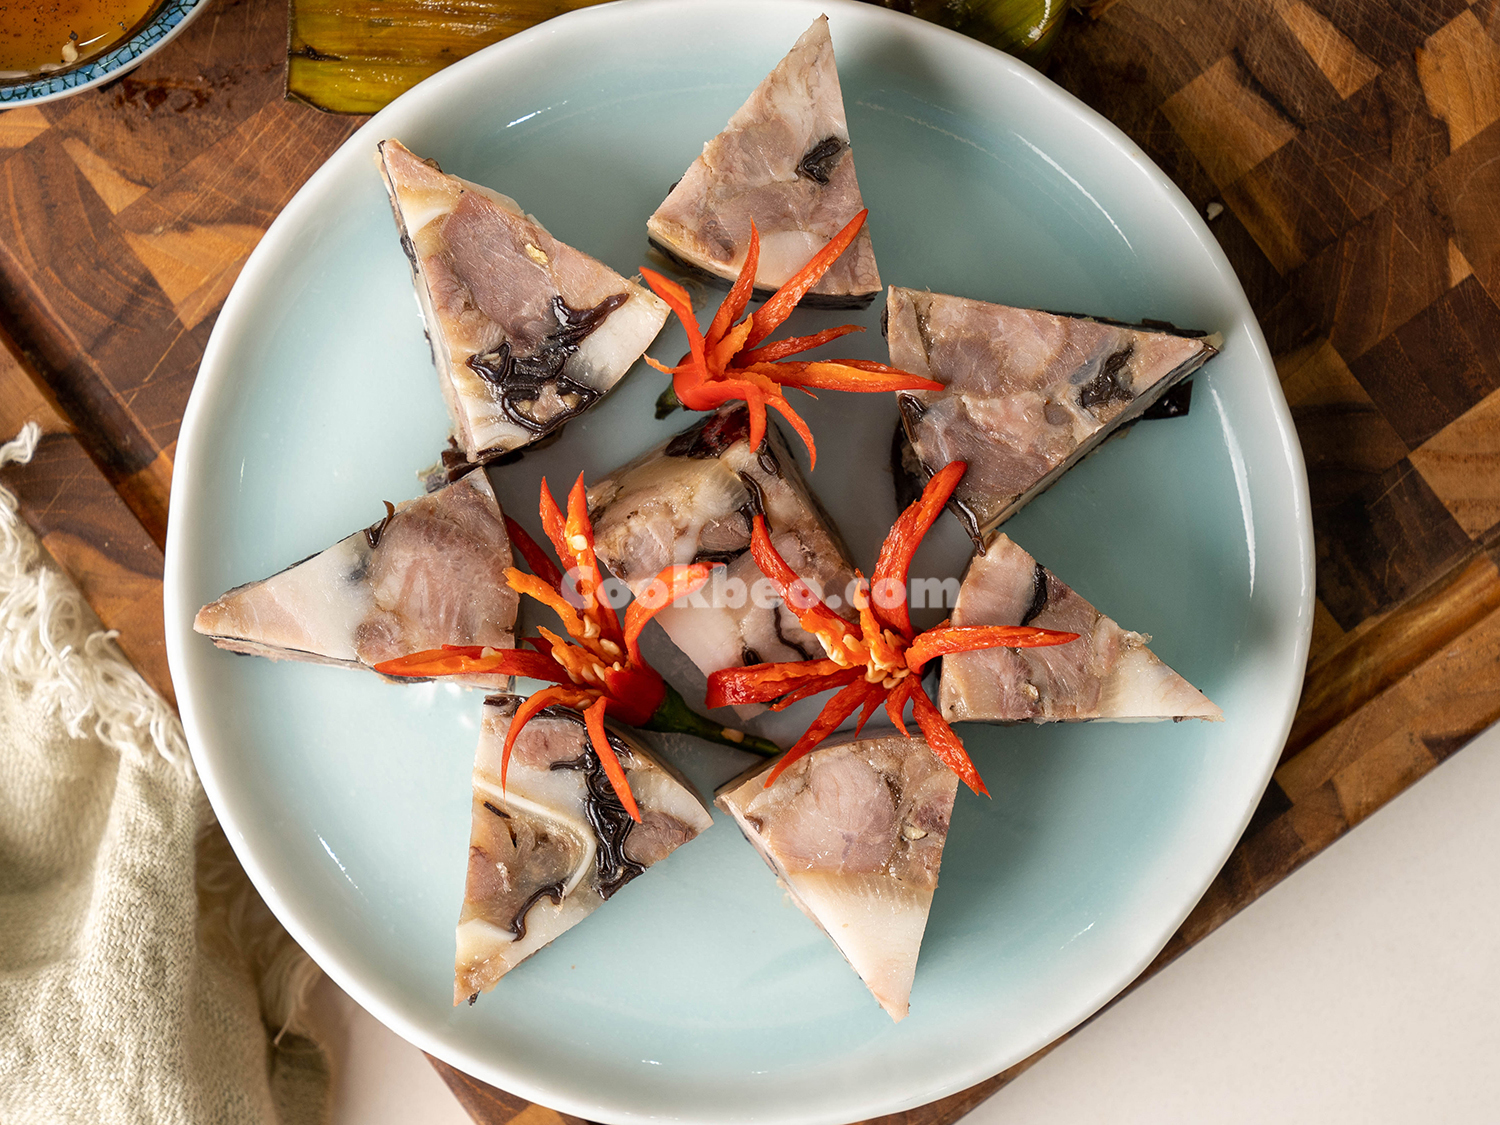
Head cheese can be eaten on its own or dipped in fish sauce, and it pairs wonderfully with pickled onions, sweet and sour pickled cabbage, or pickled mustard greens. This is a familiar dish, often featured in Vietnamese year-end meals, Lunar New Year celebrations, or on the altar during the Full Moon Festival.
So, be sure to save Cookbeo’s recipe and give it a try. Good luck, and don’t forget to share your results with Cookbeo in the comments below!


